local paperless-ngx
Update 26-06-14: added openSUSE tumbleweed
A quick disclaimer: I'm not entirely sure what I'm doing here. This weekend was my first time working with podman. So... try this at your own risk!
a little background first
On the mac, Devonthink has always been—and still is—the best program ever. Simply because all documents are managed locally on the computer. In other words, the app doesn’t require the cloud. When I switched to Linux, it really bothered me that I couldn't find a suitable alternative. Paperwork, for example, also manages documents locally on the computer, but its design was too basic (in my opinion), and I just couldn't get into it.
paperless-ngx
Paperless-ngx is a community-supported open-source document management system that transforms your physical documents into a searchable online archive so you can keep, well, less paper.
This quote from the homepage describes paperless-ngx pretty well, though the “online” part bothered me a bit. I don't want to store my files online on a server, and keeping them on a local NAS doesn't make sense either, because then I wouldn't have them with me when I'm on the go.
solution: local paperless-ngx
Podman comes to the rescue. Thanks to Podman, I can run Paperless locally on my computers using containers. It was surprisingly easy (I only wasted an entire Saturday experimenting with it).
installation
preparation
Well, you need podman ...
Debian:
sudo apt install podman-compose
openSUSE tumbleweed:
sudo zypper in python314-podman-compose
container setup
First, you need to create a container using Podman. To do this, you’ll need three files in a folder (in my case, paperless-ngx). This folder is simply located in the user’s home directory.
I mainly followed these instructions on linuxguides.de (thanks for the tip Christian!) and the output of the paperless-ngx installer.
.env (hidden file):
COMPOSE_PROJECT_NAME=paperless
docker-compose.env:
PAPERLESS_TIME_ZONE=Europe/Berlin
PAPERLESS_OCR_LANGUAGE=deu+eng
USERMAP_UID=0
USERMAP_GID=0
docker-compose.yml:
name: paperless
services:
  broker:
    image: docker.io/library/redis:8
    restart: unless-stopped
    volumes:
      - redisdata:/data
  webserver:
    image: ghcr.io/paperless-ngx/paperless-ngx:latest
    restart: unless-stopped
    depends_on:
      - broker
    ports:
      - "8000:8000"
    volumes:
      - ~/Dokumente/Paperless/Data:/usr/src/paperless/data:Z
      - ~/Dokumente/Paperless/Media:/usr/src/paperless/media:Z
      - ~/Dokumente/Paperless/Export:/usr/src/paperless/export:Z
      - ~/Dokumente/Paperless/Import:/usr/src/paperless/consume:Z
    env_file: docker-compose.env
    environment:
      PAPERLESS_REDIS: redis://broker:6379
volumes:
  redisdata:
I decided to use SQLite as the database because it will allow me to easily sync it between my computers later using Synthing.
It is important to adjust the volumes. These are located in my “Documents” folder under “paperless.”
Data: the database
Media: all the files
Export: Export Folder
Import: Drop documents in this folder for adding them
The “paperless” folder contains the entire contents of paperless-ngx, making it very easy to back up or sync.
container compose
In that folder, just run
Debian:
podman compose up
openSUSE tumbleweed:
podman-compose up
and everything will be installed.
start and stop the container
The paperless-ngx container doesn't need to run all the time—only when I need to access it. So I wrote a little Bash script to start or stop the container. Just a quick heads-up: I'm a novice and like to keep things colorful ;)
paperless.sh:
#!/bin/bash

set -euo pipefail

# Colors
readonly BLUE='\033[0;34m'
readonly RED='\033[0;31m'
readonly GREEN='\033[0;32m'
readonly YELLOW='\033[1;33m'
readonly NC='\033[0m'

BROKER="paperless_broker_1"
WEBSERVER="paperless_webserver_1"

# Check, if container are running
both_running() {
    [ "$(/usr/bin/podman inspect -f '{{.State.Running}}' "$BROKER" 2>/dev/null)" = "true" ] &&
    [ "$(/usr/bin/podman inspect -f '{{.State.Running}}' "$WEBSERVER" 2>/dev/null)" = "true" ]
}

# Start Containers
start_containers() {
    echo -e "${YELLOW}🟡 Starting $BROKER${NC}"
    /usr/bin/podman start "$BROKER" >/dev/null 2>&1
    sleep 2
    echo -e "${YELLOW}🟡 Starting $WEBSERVER${NC}"
    /usr/bin/podman start "$WEBSERVER" >/dev/null 2>&1
    echo -e "${GREEN}🟢 Both Containers running.${NC}"
}

# Stop Containers
stop_containers() {
    echo -ne "${YELLOW}⚠️  Stop Container? ${NC}"
    read -p "(j/n) [n]: " answer
    echo
    if [ "$answer" = "j" ]; then
        echo -e "${YELLOW}🟡 Stopping $WEBSERVER${NC}"
        /usr/bin/podman stop "$WEBSERVER" >/dev/null 2>&1
        sleep 2
        echo -e "${YELLOW}🟡 Stopping $BROKER${NC}"
        /usr/bin/podman stop "$BROKER" >/dev/null 2>&1
        echo
        echo -e "${GREEN}🟢 Both Containers are stopped.${NC}"
    else
        echo -e "${RED}🔴 Cancel: Containers still running.${NC}"
    fi
}

# Main
echo
echo "### Paperless-ngx - Podman ###"
echo
if both_running; then
    stop_containers
else
    start_containers
fi
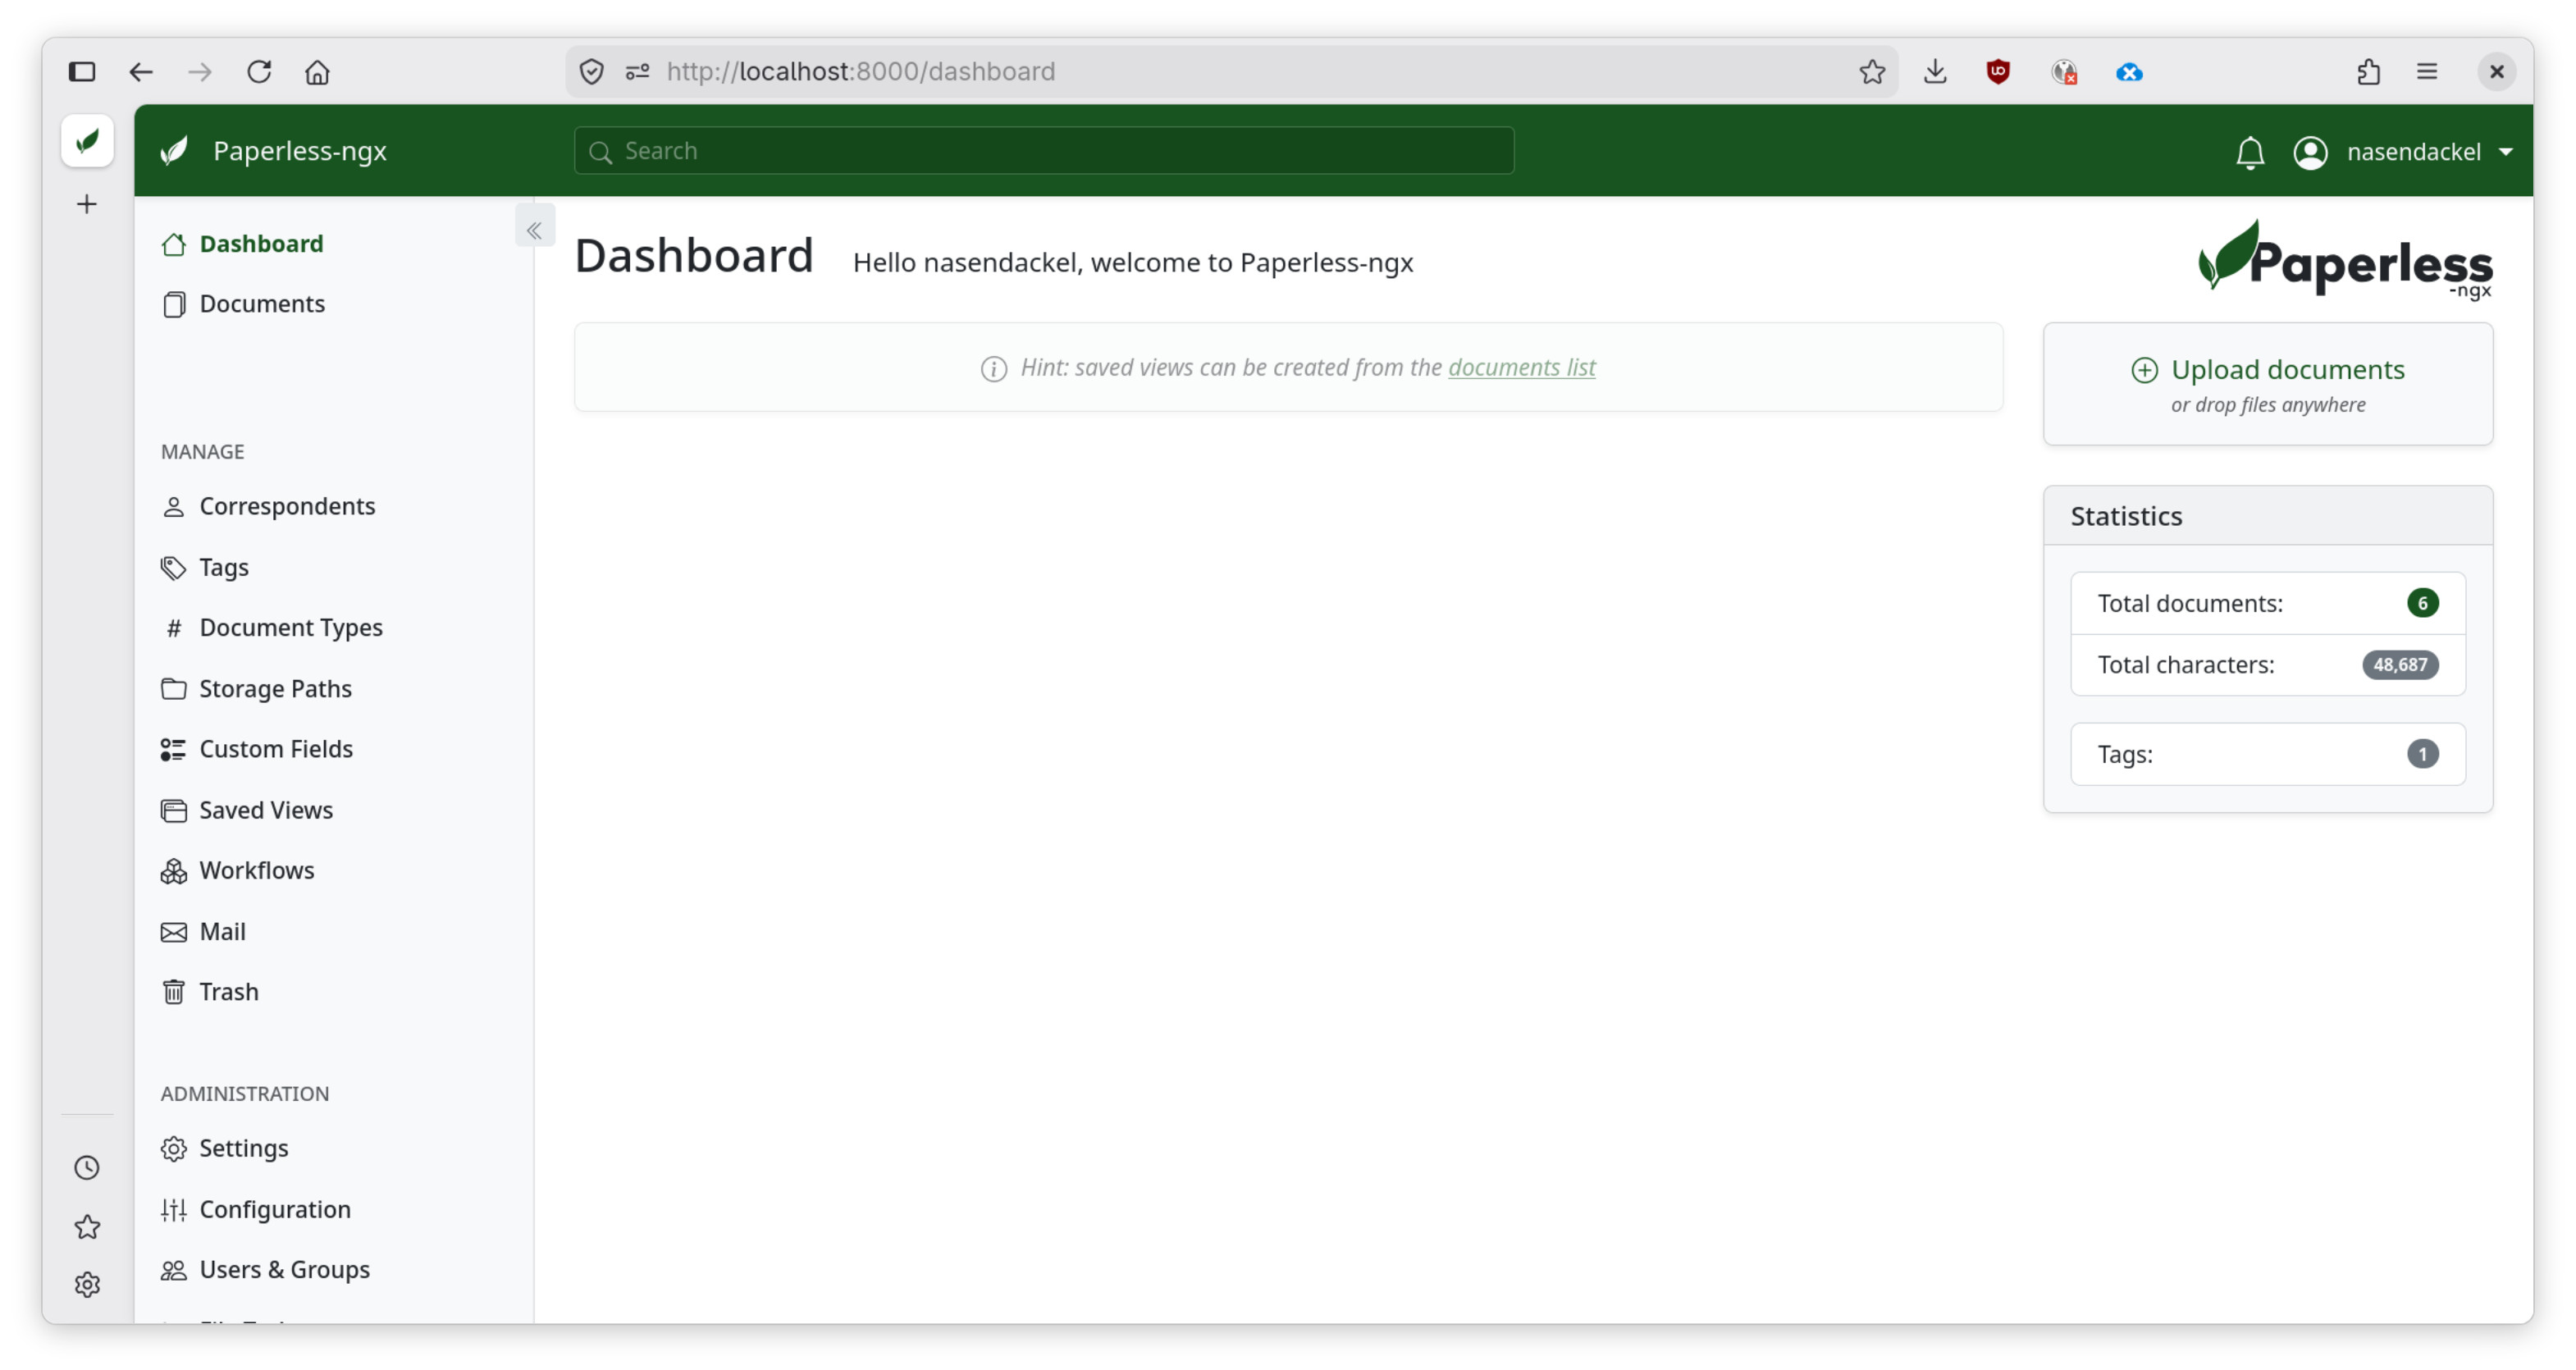
Access Paperless
Just go to http://localhost:8000 in your browser, and everything works perfectly.
Sync and backup
As mentioned earlier, the “Paperless” folder in “Documents” contains everything and can be synced between computers using Syncthing, for example. This folder is also very easy to back up.
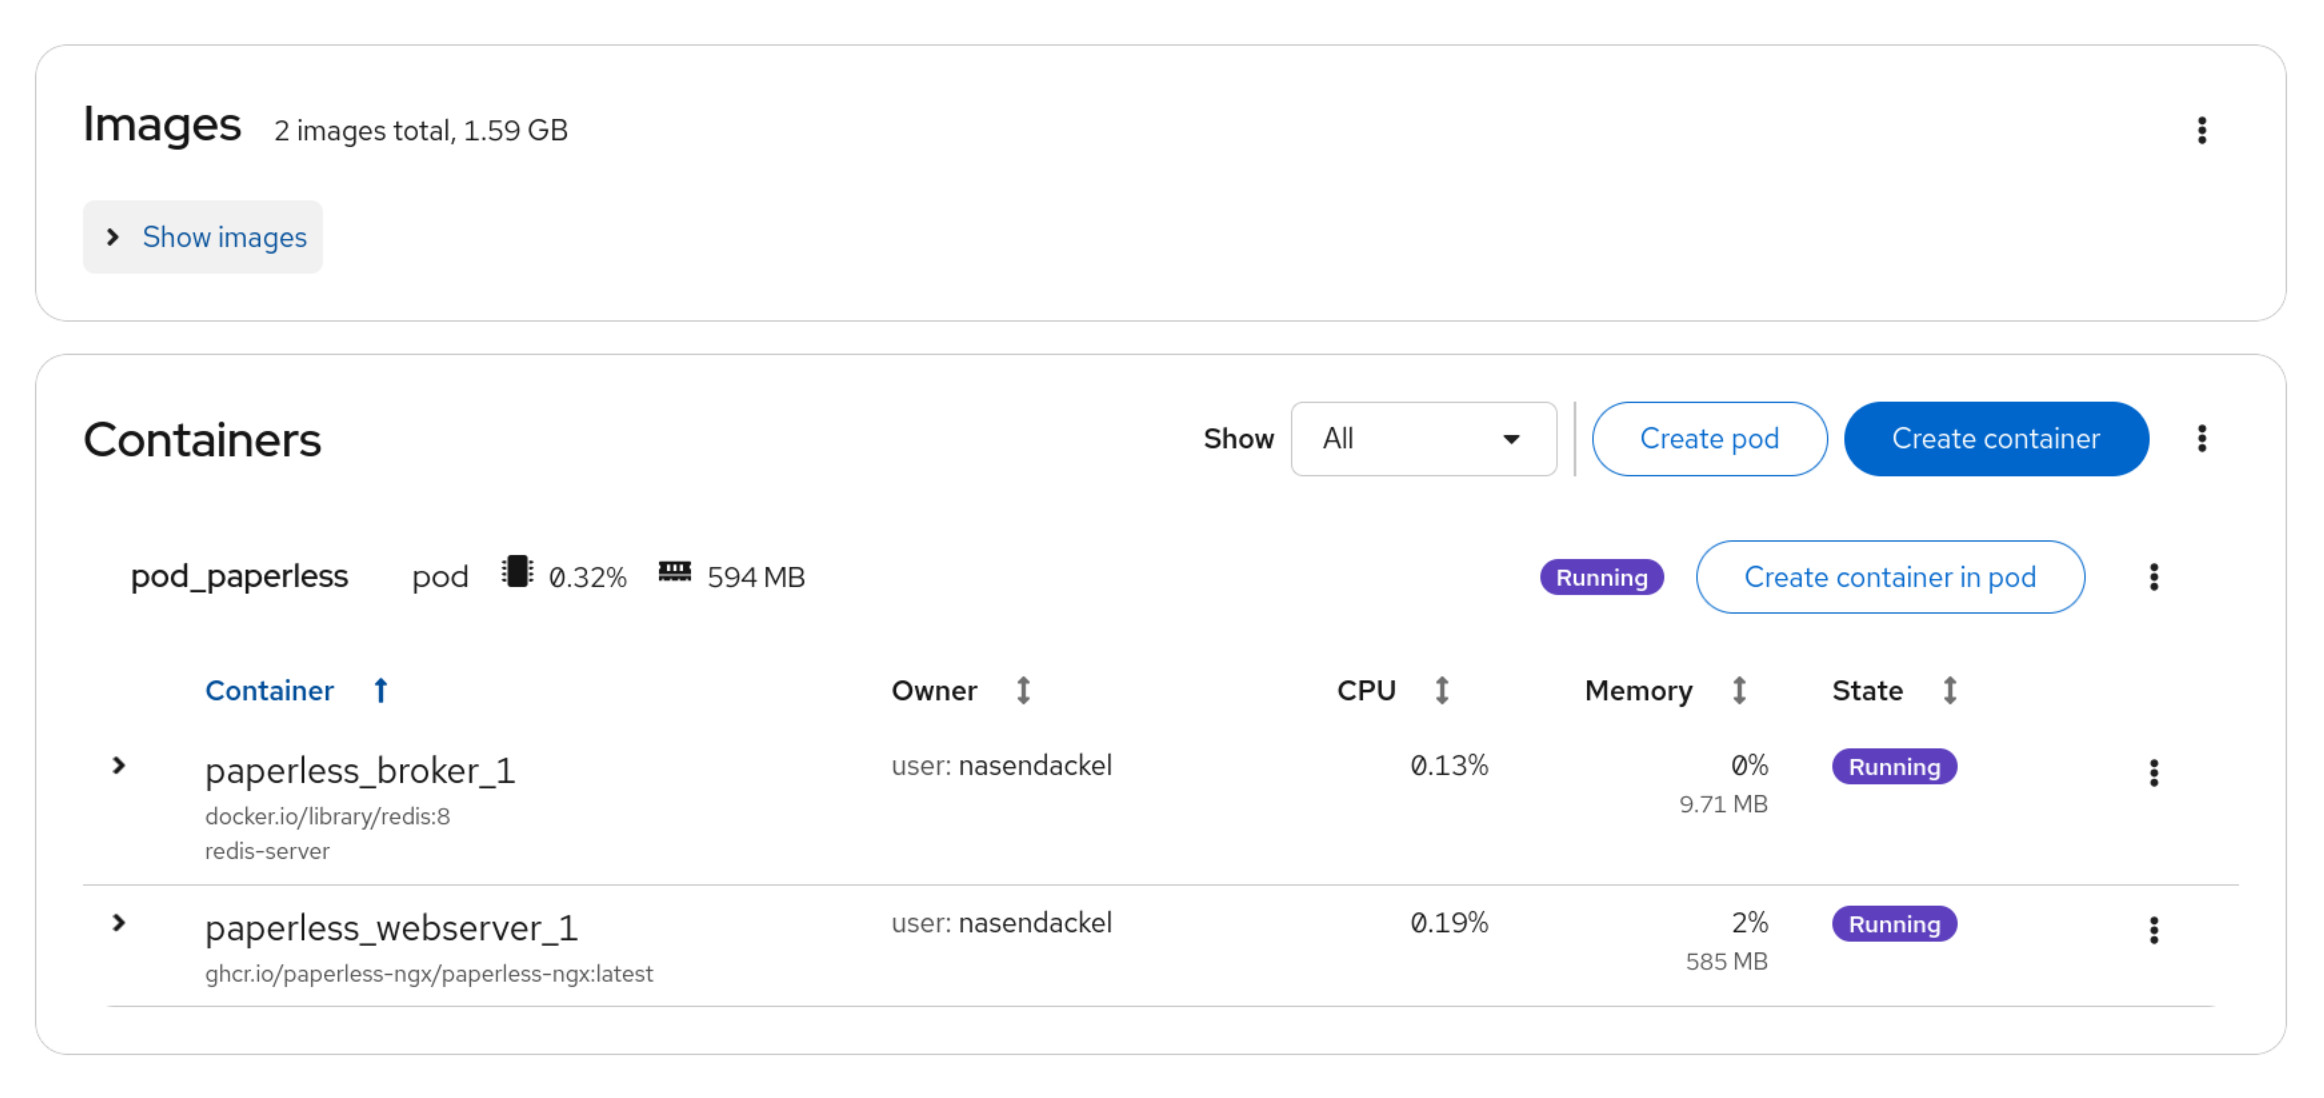
Manage podman
Of course, you can also do this via the CLI, but I like the simplicity of cockpit, which can also be used on Debian. Cockpit has a handy module for managing Podman.